The Epson Stylus Photo 1400 Driver Download from authentic website from epson.com support. All operating system (ost) driver download links are available. Windows, Linux and Mac preferred version software download there.
But, before the download driver you can identify your operating system. Because incompatible drivers create many trouble issues for the printer. You can find authentic software from epson.com. Otherwise follow to on our site here including directly official page link.
To download the driver for the Epson Stylus Photo 1400 printer, you can visit epson.com and select your operating system. You can also use the driver CD that came with the printer or download the driver from the manufacturer’s website.
1. Epson Stylus Photo 1400 Driver Download
This is software that acts as an interface between your computer and the printer. The driver is responsible for communicating your print and then translating the results of those requests back to your computer.
Enable the all function of the printer when you install the correct driver. The driver also provides access to advanced printer features and options, such as paper type and size, print quality, and print layout.
2. Epson Stylus Photo 1400 Printer Driver
Most of the popular printers in the market are the “Epson Stylus Photo 1400 printer”. The printers supply smooth quality document print out with photo print. But, many users don’t know after the printer purchase the driver install.
When setting up the compatible driver of the printer then the printer is always working. It is important to have the latest version of the printer driver installed.
You can download the driver from the Epson website. Simply navigate to the support page for your printer, and then select the appropriate operating system for your computer. You will then be prompted to download the driver file.
3. How To Download The Driver
Are you searching for your printer “Epson Stylus Photo 1400” driver software? Then this heading is helpful for you. visit the official Epson website and search for the printer model.
From there, select your operating system and language, then click on the “Download” or “Drivers & Software” button. Once the download is complete, run the installation file and follow the on-screen instructions to install the driver.
3.1 Epson.com link download process
- Epson.com website enters your computer.
- After entering the page “search bar” option, find out.
- Enter your model name “Epson Stylus Photo 1400 Printer”
- Go to the support system and visit the download section.
- From the list your choice is the preferable driver.
- Download the software; then follow to the next step (install).

Windows Driver Downloads
| Operating System | Driver Download Link |
| Windows XP 64bit | Download Link |
| Windows Vista 32bit | Download Link |
| Windows Vista 64bit | Download Link |
| Windows 7 32bit | Download Link |
| Windows 7 64bit | Download Link |
| Windows 8 32bit | Download Link |
| Windows 8 64bit | Download Link |
| Windows 8.1 32bit | Download Link |
| Windows 8.1 64bit | Download Link |
| Windows 10 32bit | Download Link |
| Windows 10 64bit | Download Link |
| Server 2000 | Download Link |
Mac Driver Downloads
| MAC OS v10.2 | Download Link |
| MAC OS v10.3 (Panther) | Download Link |
| MAC OS v10.4 (Tiger) | Download Link |
| MAC OS v10.5 (Leopard) | Download Link |
4. How to install CD/DVD Using, without CD, manual
Once you have downloaded the driver you can follow the install method. The Epson Stylus Photo 1400 for the setup of several methods. Among them, very popular methods are explained in this heading.
including CD/DVD, manual, and without CD/DVD. If you don’t have the CD/DVD, you can follow the next method (online and offline). The driver file and then run it on your computer to begin the installation process.
- CD/DVD Installation:
- Insert the printer’s installation CD into your computer’s CD/DVD drive.
- Follow the on-screen instructions to install the driver.
- Connect the printer to your computer once the installation is complete.
- Download and Installation:
- Visit the Epson Support website.
- Locate the driver for your Epson Stylus Photo 1400 printer and select the appropriate operating system.
- Download the driver to your computer.
- Double-click the downloaded file and follow the on-screen instructions to install the driver.
- Connect the printer to your computer once the installation is complete.
- Manual Installation:
- Visit the Epson Support website.
- Locate the driver for your Epson Stylus Photo 1400 printer and select the appropriate operating system.
- Download the driver to your computer.
- Go to Control Panel > Devices and Printers.
- Click on “Add a Printer”.
- Select “Add a Local Printer”.
- Choose the correct port for your printer.
- Follow the on-screen instructions to install the driver, selecting the downloaded driver from your computer.
- Connect the printer to your computer once the installation is complete.
5. Facilities of the Printer
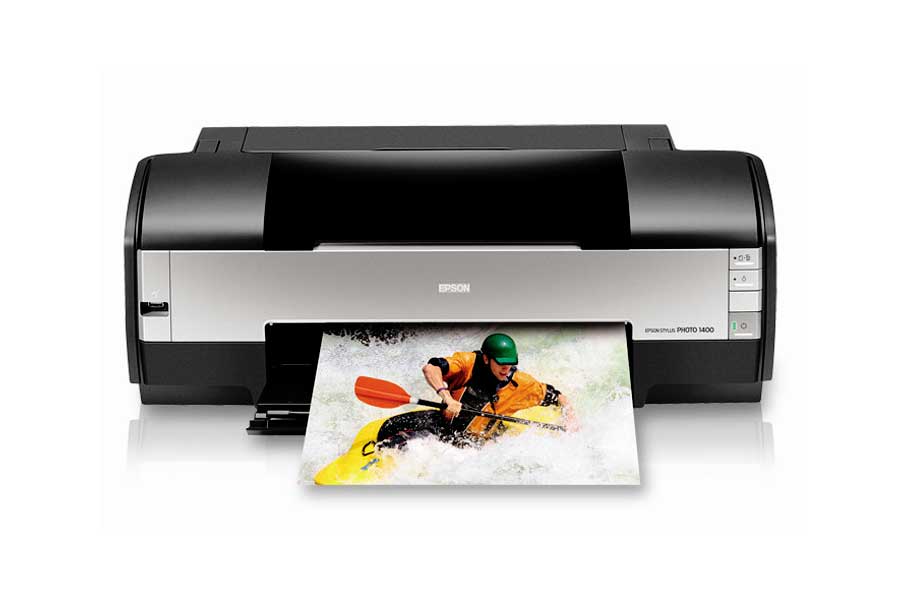
It is a color inkjet printer that is designed for home and small office use. This printer features six-color Claria Photographic Ink technology, which produces high-quality, professional-looking photos.
The EPSON Stylus Photo 1400 offers advanced printing capabilities, including the ability to print borderless photos in various sizes, as well as high-speed printing of both photos and documents.
- Print Resolution: maximum resolution of 5760 x 1440 dpi for color printing and 5760 x 1440 dpi for black and white printing.
- Connectivity: connect the printer to your computer through USB 2.0, Ethernet, and Wi-Fi.
- Ink Cartridges: usually, the printer 6 ink cartridges for better color accuracy and vivid color representation.
- Print Sizes: including 4″ x 6″, 5″ x 7″, 8″ x 10″, and 11″ x 14″.
- Borderless Printing: odorless photos up to 8″ x 10″.
- Easy to Use: The printer has a 2.5″ LCD screen, which makes it easy to select and edit photos before printing.
- Printing Speed: printing 4″ x 6″ photos in as little as 1 minute and 19 seconds.
FAQs:
Firstly, you choose any browser with address bar write: epson.com and find out your model name choice and support system you can download the driver.
The printer offers Windows 10 with other versions of the operating system.
Directly visit from the official website and download the driver and follow the installation procedure without requiring a CD.
Recommend for you that use the updates driver. It ensures optimal printer performance and compatibility with the latest operating system updates.
Yes, allowing you to create stunning edge-to-edge photo prints.
If you need, this driver will install multiple computer systems.