
The Canon Pixma G2010 driver Download is a software which enables devices and printers to run. It acts as a bridge between your operating system and the printer.
Your computer to send to comment print jobs and receive the printer and enable print out. The Canon Pixma G2010 only driver is a specific version of the driver software that includes only the essential components necessary for the printer to function properly.
This means that the driver is smaller in size and faster to download compared to the full software package.
To download and install the Canon Pixma G2010 only driver, you can visit the Canon website – canon.com and support page for the Pixma G2010 printer.
Look for the “G2010 series MP Drivers Ver.1.01 (Windows)” or “G2010 series CUPS Printer Driver Ver.16.40.1.0 (Mac)” option, depending on your operating system, and click on the “Download” button to begin the download process.
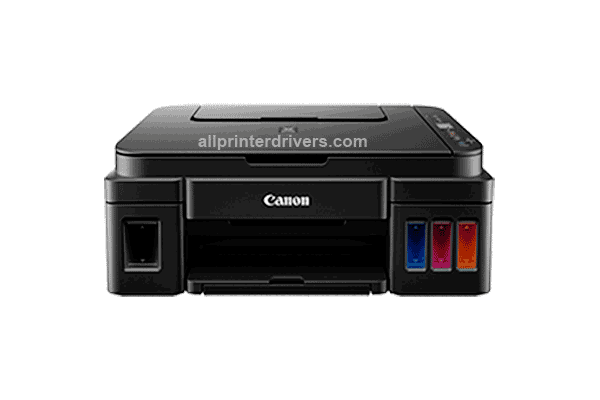
Download Canon Pixma G2010 Driver
your Canon Pixma G2010 printer to your computer via USB. automatically recognize the printer and install the necessary drivers.
Only driver is a convenient and efficient way to install the necessary drivers for your printer without having to download additional software that you may not need.
To use the printer, you will need to install the Canon Pixma G2010 driver software on your computer. In this article, we will provide a comprehensive guide to the driver software.
Download Link – For Windows, Mac, Linux All Driver Link
How to install it (Canon Pixma G2010)
This heading describes the canon pixma g2010 printer driver. After appropriate driver download and follow to this section.
Here, we explain all details information to install the Canon Pixma G2010 driver, please follow the steps below:
- support page download driver for the Pixma G2010 printer.
- operating system from the list of available options and download the right driver software.
- double-click the file to start the installation process.
- Follow the on-screen instructions to complete the installation process.
- You may be prompted to connect the printer to your computer via USB during the installation process.
- Once the installation is complete, you can connect the printer to your computer via USB and turn on the printer.
- Test the printer by printing a test page or document.
Compatibility
The Canon Pixma G2010 driver is compatible with a range of operating systems, including Windows, Mac, and Linux.
If you are unsure which driver to download, check the Canon website for compatibility information.
Features
The Canon Pixma G2010 driver software provides a range of features to enhance your printing experience. These include:
- Print Settings: The print settings allow you to adjust the print quality, paper size, and other settings to optimize your printing output.
- Scan Settings: The scan settings allow you to adjust the scan quality, file type, and other settings to optimize your scanning output.
- Ink Level Monitoring: The driver software provides information on the ink levels in the printer, allowing you to keep track of when the ink needs to be refilled.
- Maintenance: The driver software provides tools for maintaining the printer, such as nozzle checks and cleaning.
- Wireless Printing: The Canon Pixma G2010 printer also supports wireless printing, allowing you to print from your mobile device or tablet.
Ink Refilling
- Turn off the printer and unplug the power cord.
- Open the ink tank cover and remove the ink tank.
- Remove the cap from the refill bottle and insert the nozzle into the ink tank.
- Squeeze the refill bottle until the ink tank is full.
- Replace the ink tank and close the ink tank cover.
- Turn on the printer and run a nozzle check to ensure that the ink is flowing correctly.
Troubleshooting
If you encounter any issues with the Canon Pixma G2010 printer or driver software, there are several troubleshooting steps you can take. These include:
- Checking the printer connection to ensure that it is properly connected to your computer.
- Updating the driver software to the latest version.
- Running a nozzle check to ensure that the ink is flowing correctly.
- Cleaning the printer nozzles to remove any blockages.
- Resetting the printer to its default settings.